Fix your rear auto window defogger quickly and easily with an inexpensive repair kit. No special skills needed.
Repair broken electrical contacts
1 of 4
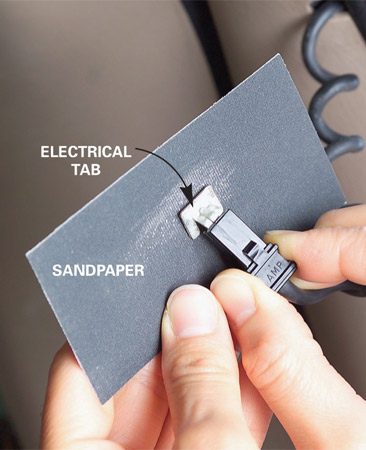
Photo 1: Sand the tab
Using light pressure, sand the back of the broken tab smooth. Use the sandpaper from the kit.« Previous Photo
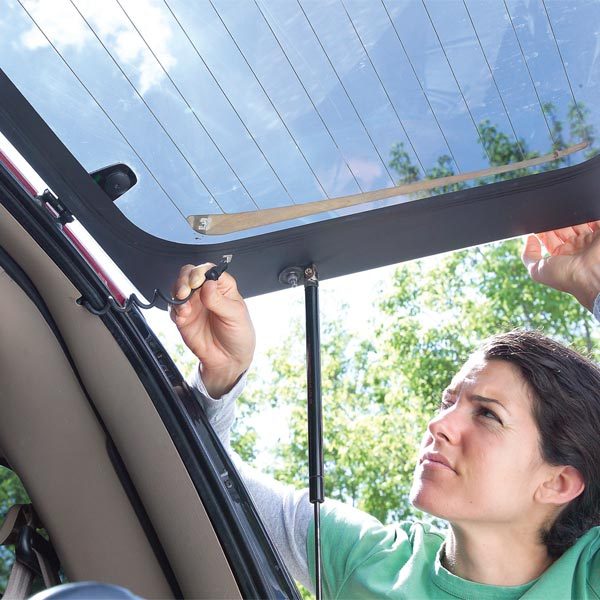
Next Photo »Checking the rear window, you realize that you broke off one of the electrical tabs for the defogger. Plus, one of the grid lines is scratched. Theres no need to fork over the cash for a new window or pay someone to fix it. You can fix both of these problems yourself for less than $15.
Most auto parts stores stock rear window defogger repair kits. The two most popular are the Permatex Complete Rear Window Defogger Repair Kit No. 09117 and the Syon Rear Defogger Repair Kit No. 38-8434. The kits cost less than $20 and include repair instructions. If you only need to repair the tabs, buy the Loctite Rear Window Defogger Tab Adhesive No. 21351.
We selected the Permatex kit because its widely available and is a complete kit for both repairs. The instructions arent as consumer friendly as wed like, but the kit performed flawlessly.
Even though the electrical tabs are soldered onto the defogger grid at the factory, avoid the temptation to solder the replacements. If the heat cracks the glass, you will have to buy a new window. Using the sandpaper from the kit, sand the rough solder surface on the loose tab (Photo 1). Use the alcohol prep to clean the tab and the grid area where the tab broke off (Photo 2). Then apply the activator to both areas and let it dry for two minutes. Next, knead the adhesive packet until the electrically conductive silver particles are fully mixed with the glue and apply the mixture to the tab (Photo 3). Press or tape the tab onto the activated grid area until it stays by itself (Photo 4).
Repair a broken grid line

1 of 1
Photo 5: Paint a new line
Repair a broken grid line by cleaning the area around the break with the alcohol prep. Allow to dry. Peel the wax paper liner off the stencil and apply the sticky side to the glass, aligning the stencil to the existing grid line. Brush on the conductive paint. As with the tab repair, let it dry for 24 hours before using the defogger.We completed both repairs in less than 30 minutes. However, the instructions warned us to wait 24 hours to test the defogger. One last note: You can only do this repair when the temperature is above 50 degrees F.

0 comments:
Post a Comment